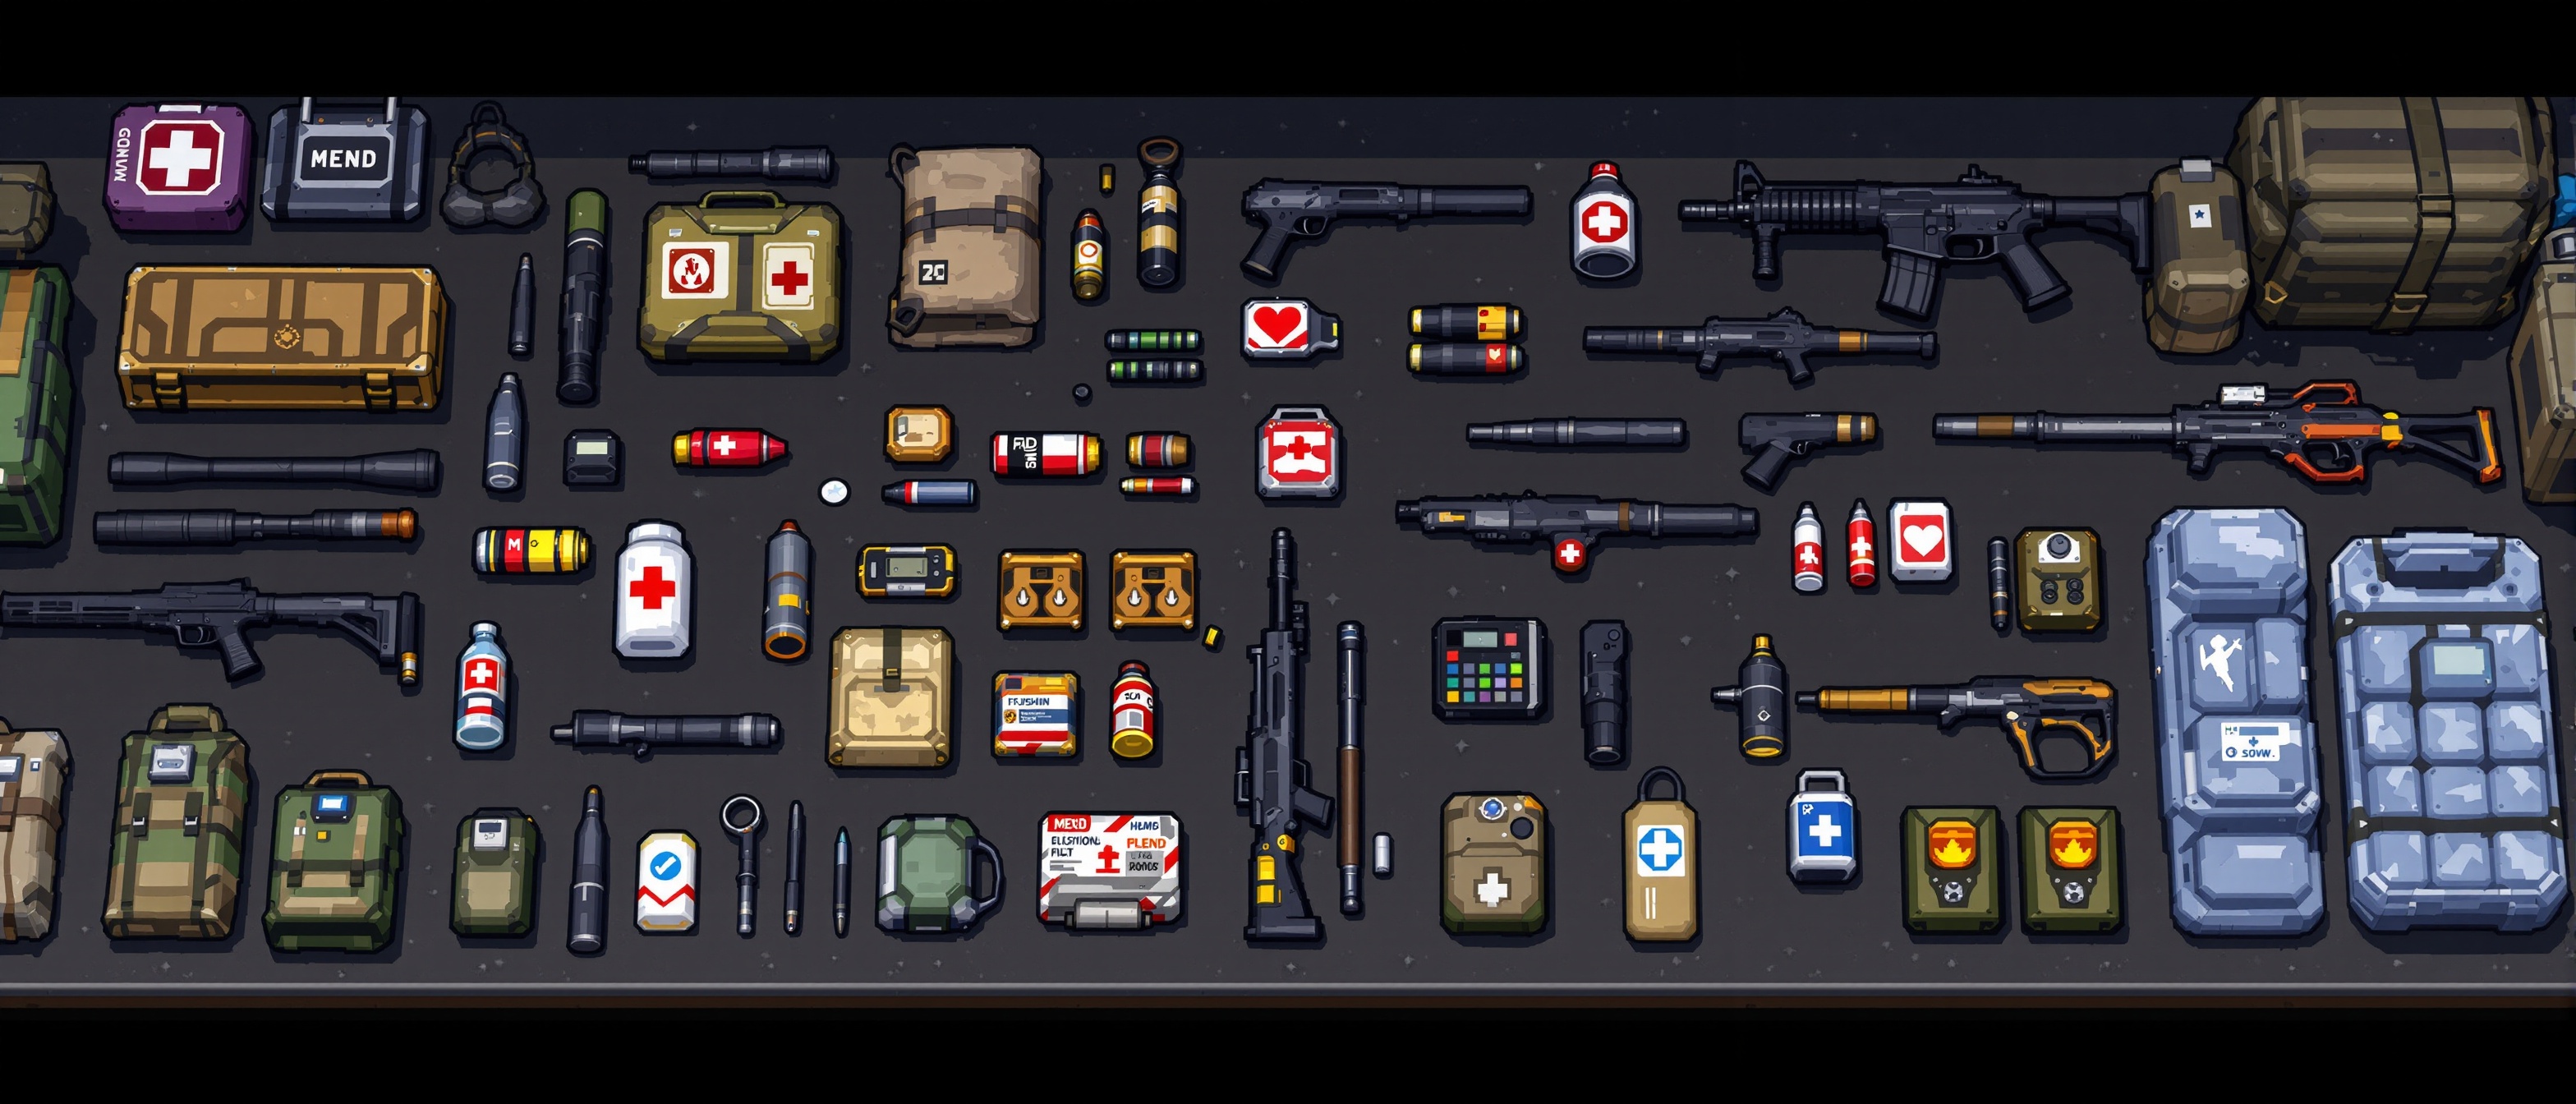
The right loadout connects your class, weapons, and tactical gear into a single coherent strategy. A great loadout amplifies your class strengths. A bad one undermines them. This page gives you practical, tested builds for beginners, solo runs, co-op teams, hostage rescues, and bomb missions — each designed around real mission scenarios. Once you have your gear sorted, the Mission Walkthroughs will show you exactly how to use these loadouts in every act.
How to Build a Loadout
Three rules that separate good builds from wasted stars
The Breacher with a shotgun will always outperform the Breacher with a rifle. The Shield without his shield is just a slow Assault. Build around your class bonuses, then adapt the mission strategy.
Carrying one of everything means you are mediocre at everything. Double down on one strength. Two flashbangs and a shotgun beats one of each item and a balanced rifle every time.
When your primary runs dry mid-fight, switching to your pistol is faster than reloading. Pick a secondary that covers the range your primary does not. Shotgun primary needs a ranged backup. Rifle primary can get away with a simple pistol.
Beginner Loadouts
Start here. These three builds will carry you through the first two acts
Reliable Starter
The default loadout that carried you through the tutorial. It is boring, but that is the point — you can focus on learning mechanics without worrying about gear. The M4A1 handles every range, the M1911 saves you when ammo runs dry, and one of each tactical item covers emergencies.
- No major weaknesses
- Easy ammo management
- Forgives positioning mistakes
- No specialization
- Outclassed by focused builds later
- Slow clear times
Breach King
Unlock the Breacher class, buy the M1014, and missions transform. The shotgun deletes enemies in tight rooms, flashbangs handle crowds, and the Breacher's door stun bonus gives you free kills on every entry. This is the first loadout that feels genuinely powerful.
- Massive room clear speed
- Flashbangs trivialize groups
- Fun and aggressive
- Fragile class — mistakes hurt
- Struggles at long range
- Shotgun ammo is limited
Gadget Guy
The FBI class carries more items than anyone else. With two flashbangs and two medkits, you have room for error that other classes lack. The M4A1 and Deagle give you a solid damage baseline while the extra gear handles anything the mission throws at you. The best late-game beginner loadout.
- Most tactical options
- Extra medkits forgive mistakes
- Versatile on any mission
- Requires star investment to unlock
- No raw damage advantage
- Overwhelming item management
Solo Play Loadouts
You are the entire squad. These builds cover every range and forgive mistakes
One-Man Army
In solo play, you are the entire squad. You need to clear rooms fast because there is no teammate to cover your flank. The Breacher's M1014 handles close quarters, the AK-47 covers long sightlines, and flashbangs give you safe entries into multi-enemy rooms. This loadout turns solo missions into speed runs.
- Fastest solo clear times
- Covers all ranges
- Flashbangs make 1v4s winnable
- Low health pool
- Requires aggressive positioning
- Ammo can run dry on long missions
Survivalist
When a mission is long, hard, or unfamiliar, survival beats speed. The SCAR-L is accurate and ammo-efficient. Two medkits let you recover from mistakes that would end a Breacher run. The breaching charge gives you options for alternate angles without needing a partner.
- High survivability
- Ammo efficient
- Mistakes are recoverable
- Slower than Breacher builds
- SCAR-L is a late unlock
- No flashbangs for crowd control
Co-Op Loadouts
Two players, one strategy. These duo builds complement each other perfectly
The Wall & The Sniper
The classic co-op combo. The Shield pushes forward, blocks all incoming damage, and draws enemy fire. The Sniper sits behind the shield and eliminates threats before they can flank. In open rooms this pair is unstoppable. In tight corridors the Sniper switches to a sidearm while the Shield tanks the hallway.
- Near-perfect survivability
- Sniper can shoot safely
- Covers every range
- Requires two players
- Shield is slow alone
- Sniper useless without the wall
Speed & Power
Two aggressive operators moving fast and hitting hard. The Recon uses silenced weapons and speed to flank enemies while the Breacher kicks in the front door and clears the main room. This duo finishes missions in record time and makes speed-run objectives trivial. High risk, insane reward.
- Fastest duo clear times
- Flank + frontal pressure
- Speed objectives easy
- Both classes are fragile
- No tank for hard fights
- Requires coordination
Hostage Rescue Loadouts
Precision over power. One wrong shot fails the mission
Precision Rescue
Hostage missions punish reckless fire. The Sniper's AWM lets you eliminate enemies with single, precise shots from a distance. No pellet spread, no splash damage, no risk of hitting a hostage by accident. Clear the room from the doorway before stepping inside.
- Zero risk of collateral damage
- One-shot most enemies
- Safe engagement range
- Slow fire rate
- Struggles in tight rooms
- Requires line of sight
Flash & Grab
When hostages are deep in a building and enemies are clustered around them, flashbangs are your best friend. The FBI class carries three flashbangs, letting you stun entire rooms, eliminate threats safely, and rescue hostages without ever risking a stray bullet. Use flashbangs, not bullets, to control the room.
- Three flashbangs for crowd control
- Precise weapons avoid collateral
- Flashbangs do not harm hostages
- Limited damage output
- Flashbangs are consumable
- Requires good throw placement
Bomb Mission Loadouts
Speed and destruction. Reach the objective before the timer runs out
Demolition Expert
Bomb missions often have reinforced doors, hidden paths behind weak walls, and tight deadlines. The Breaching charges destroy obstacles and damage nearby enemies. The M1014 clears rooms fast so you can reach the bomb site before the timer expires. Speed and destruction in one package.
- Destroys reinforced doors
- Clears rooms under time pressure
- Charges double as weapons
- Charges are limited
- Risk of self-damage
- Requires unlock investment
Rush Defuser
When the bomb timer is ticking, movement speed matters more than firepower. The Recon's sprint speed gets you to the objective faster than any other class. The MP5 handles the small rooms you will find at bomb sites, and one breaching charge handles any locked door in your path.
- Fastest movement to bomb sites
- MP5 is light and accurate
- Speed matters more than DPS
- Fragile if caught in a fight
- Low damage vs armor
- Requires knowing the route
Mission Type Quick Reference
Match the mission to the loadout in seconds
| Mission Type | Best Loadout | Why It Works |
|---|---|---|
| Standard Room Clear | Breach King (Breacher) | Shotgun + flashbangs dominate tight rooms |
| Hostage Rescue | Precision Rescue (Sniper) | Zero collateral damage risk |
| Bomb Defusal | Demolition Expert (Breacher) | Charges destroy obstacles, shotgun clears fast |
| Speed Run Objective | Rush Defuser (Recon) | Fastest movement to objective |
| Nightmare Difficulty | Survivalist (Assault) | High survivability and ammo efficiency |
| Co-Op Hard Mission | Wall & Sniper (Shield+Sniper) | Tank + damage synergy covers all threats |
LOADOUT LOCKED AND LOADED?
Now put that gear to work. Learn mission strategies or master co-op tactics with your new build.