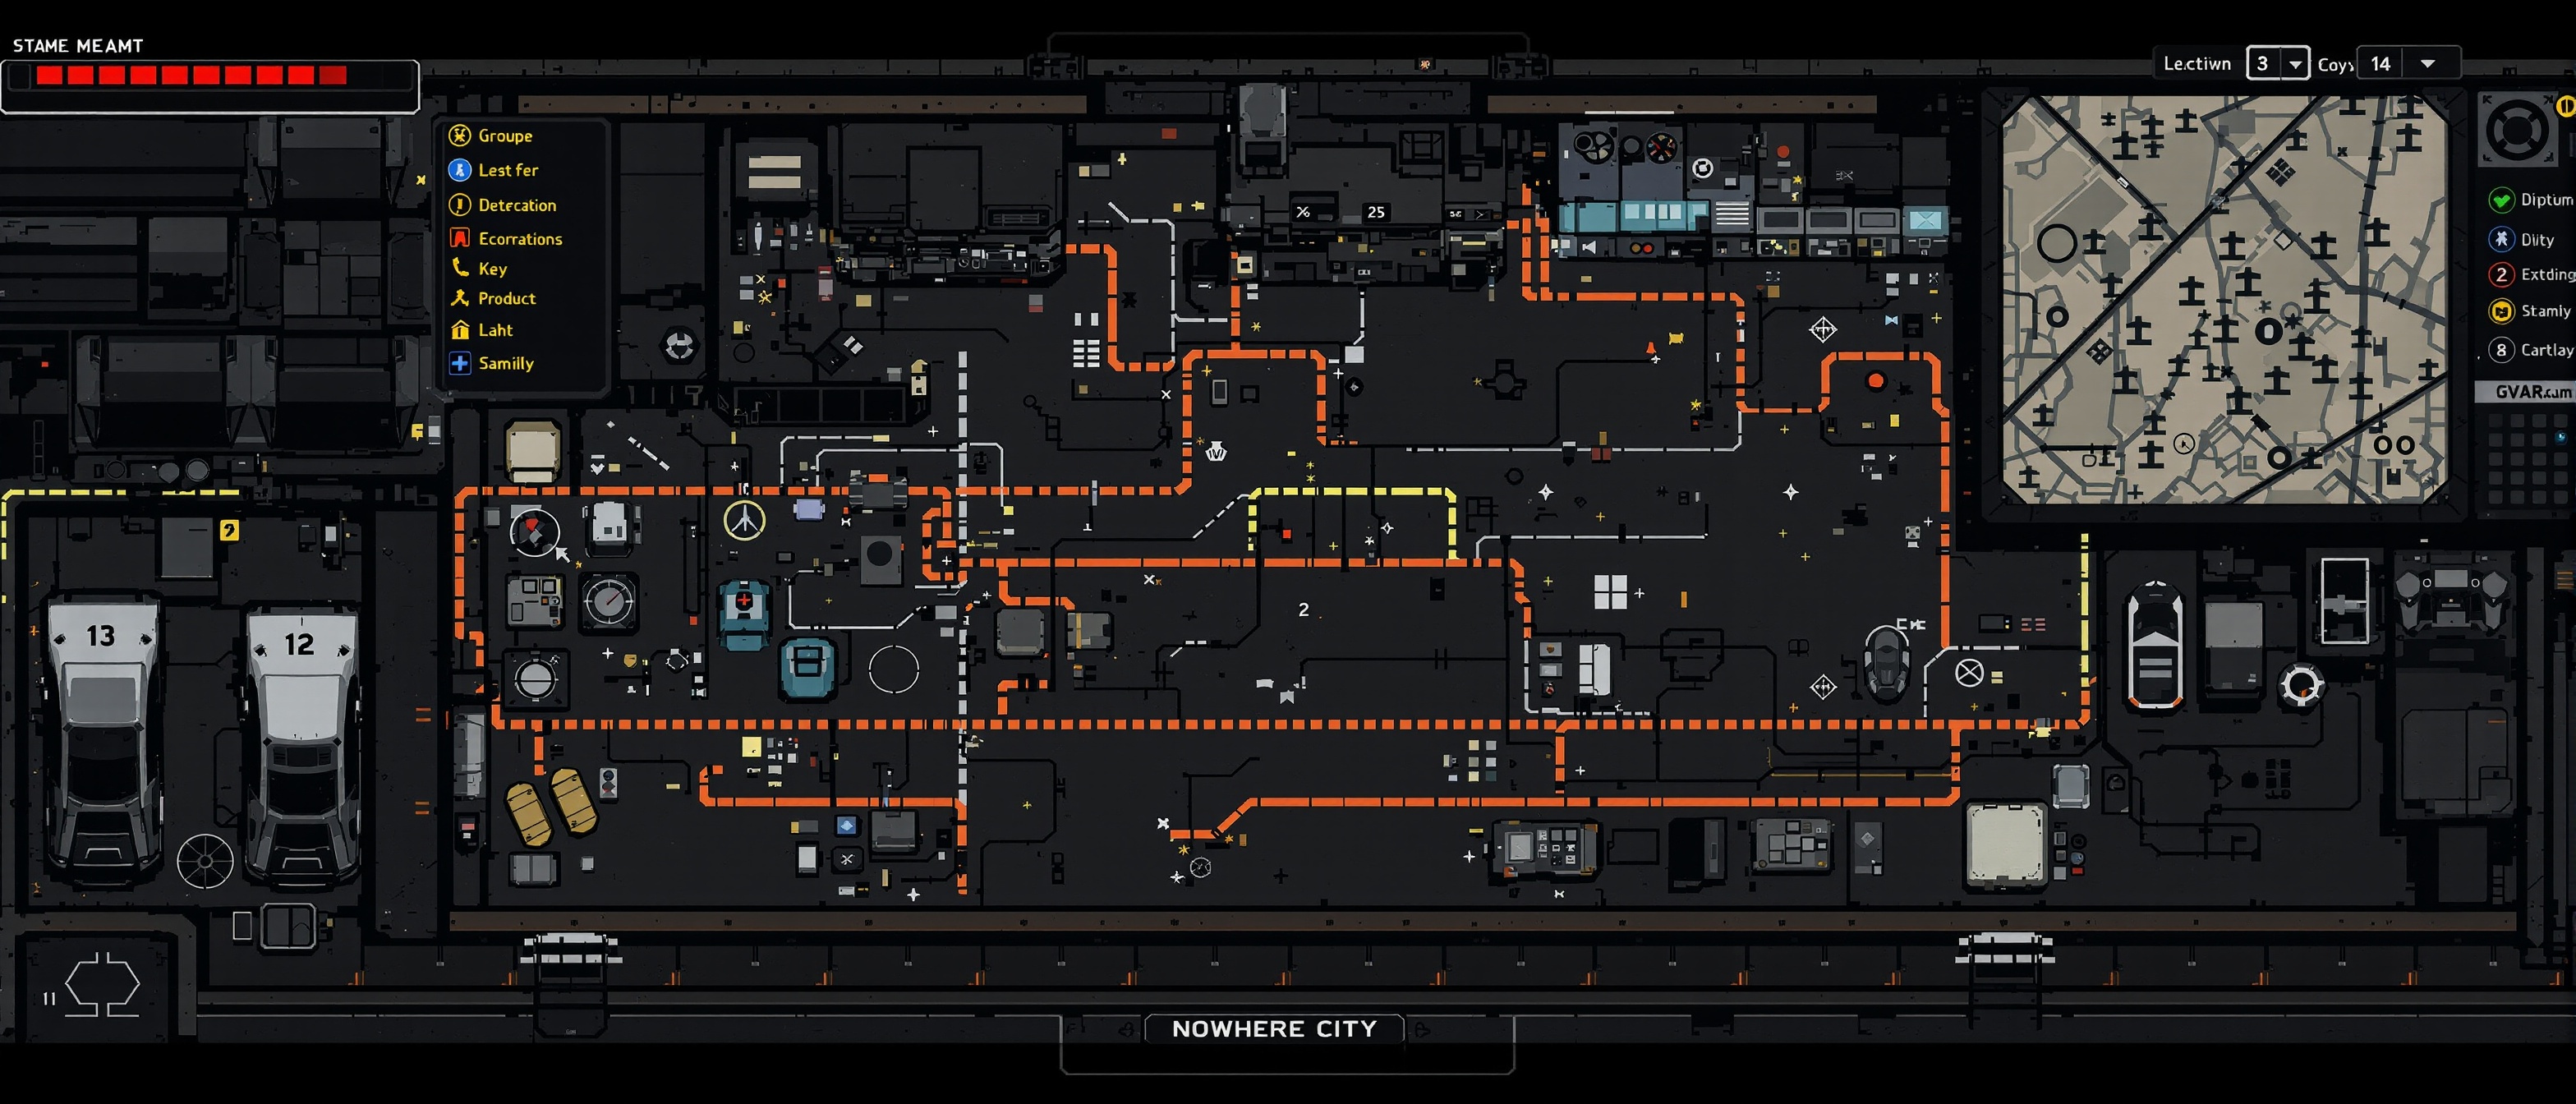
Door Kickers: Action Squad throws 84 missions at you across four acts, each with its own enemy mix, layout style, and bonus objectives. Understanding the mission structure, knowing when to fight and when to restart, and having a plan before you kick the first door separates consistent 3-star operators from players stuck replaying the same level. This guide breaks down every mission type, the act-by-act difficulty curve, route planning, and the exact moments you should restart a run. Many of the hardest missions are significantly easier with a partner — our Co-Op Guide covers the best duo strategies for tackling the toughest acts.
Mission Types
Every mission falls into one of five categories — each demands a different approach
Room Clear
Objective: Eliminate all hostiles in the building
Danger: Enemies spawn in blind corners and behind cover
Tip: Breach every door with a flashbang if 3+ enemies are audible
Hostage Rescue
Objective: Rescue all civilians without harming them
Danger: Hostages blend with enemies; one stray shot fails the mission
Tip: Use precision weapons or flashbangs — avoid shotguns and explosives
Bomb Defusal
Objective: Reach and defuse the bomb before the timer expires
Danger: Timer pressure forces rushed decisions and missed rooms
Tip: Memorize the route first in a no-pressure run, then speed-run it
Boss Encounter
Objective: Defeat the boss enemy and clear remaining hostiles
Danger: Bosses have massive health pools and unique attack patterns
Tip: Save flashbangs and breaching charges for the boss room only
Sniper Defense
Objective: Survive waves while protecting a position
Danger: Enemies approach from multiple angles simultaneously
Tip: Set up crossfire angles with your teammate in co-op
Room Clearing
The 5-step method that works on every room in the game
Stand near the door and listen for enemy audio cues. Multiple voices mean a crowded room — prepare a flashbang. Silence might mean an ambush or a distant spawn.
Check for explosive barrels near the door, secondary entry points, and the nearest cover position. Plan your first move before you breach.
Kick the door to stun enemies directly behind it. If the room is crowded, throw a flashbang first, then breach. The Breacher class extends the stun duration.
The doorway is a kill zone. Move to your pre-selected cover position before engaging. Yellow cover blocks most damage. Never stand in the open.
Work across the room systematically. Blind corners and behind furniture are where enemies hide after the initial breach. Finish every enemy before moving on.
Hostage Rescue Tactics
One wrong move fails the entire mission — these rules keep civilians alive
Pre-Entry Checklist
- Switch to a precision weapon — rifle or pistol, never shotgun
- Count visible enemies before firing — hostages are always near walls
- Prepare flashbangs — they stun enemies without harming hostages
- Identify the hostage's exact position before any shots
Forbidden Actions
- Never use shotguns — pellet spread hits hostages unpredictably
- Never use breaching charges — area damage kills everything
- Never spray full-auto — bullets穿透 walls and hit hidden civilians
- Never rush in without scanning — panic fire finds hostages first
Bomb Disarming
Beat the clock without rushing into a death trap
Before attempting a 3-star bomb run, play the mission once slowly. Learn the door sequence, enemy spawns, and the shortest path to the bomb site. Speed comes from knowledge, not reflexes.
Bomb missions often have reinforced doors that slow kicks. A breaching charge destroys the door instantly and damages nearby enemies. The Breacher class makes charges even more effective.
If a room does not block your path to the bomb and has no hostages, skip it. Every second matters. Come back for missed enemies only if the mission requires 100% clearance.
The bomb site usually has enemies guarding it. Clear the immediate area first, then start the defuse from behind solid cover. Enemies can interrupt the defuse animation if they have line of sight.
Route Planning & Restart Decisions
Know when to push forward and when to cut your losses
The best operators in Door Kickers: Action Squad are not the ones who never make mistakes — they are the ones who recognize a bad run early and restart before wasting time. Here are the five situations where restarting is the correct tactical decision.
You took heavy damage in the first room
Restart immediately. Health carries forward, and early damage ruins 3-star chances.
You shot a hostage
Instant fail. No recovery. Restart and check your weapon choice.
You wasted both flashbangs on 1-2 enemies
If the rest of the mission has large rooms, restart. Flashbangs are your crowd-control lifeline.
You are running low on primary ammo with half the mission left
Switch to a more ammo-efficient weapon or pick up drops. If none are available, restart with a better loadout.
The bomb timer is below 30 seconds and you are not at the site
Unless you are 2 rooms away, restart. Bomb timers are tight and punish backtracking.
Enemy Pressure Management
Prioritize threats, control the fight, and never get surrounded
Kill First
- Enemies with shotguns — they deal massive close-range damage
- Shield bearers — they push forward and block your angles
- Enemies actively firing at you — immediate threat
Stun First
- Groups of 3+ enemies — flashbang them before engaging
- Enemies behind cover — breach or throw to force them out
- Boss encounters — stun gives you free damage windows
Ignore for Now
- Distant enemies with pistols — low threat at range
- Enemies in optional side rooms — skip if timer is tight
- Stunned enemies — deal with active threats first
Enemy waves in later acts spawn from multiple doors simultaneously. When this happens, retreat to a doorway you already cleared and fight from there. Narrow chokepoints let you handle multiple enemies one at a time. Open rooms with enemies spawning behind you are the most dangerous situation in the game — always have an escape route.
Act-by-Act Breakdown
What changes as you progress through Nowhere City
Urban Warfare
20 missionsStandard thugs with pistols and SMGs
Low armor, basic cover, few hostages
Learn the controls and experiment with every class. Early missions are forgiving — use them to test weapons.
Industrial Zone
22 missionsArmored enemies with rifles and shotguns
Environmental hazards, wider rooms, more hostages
Start using cover actively. Enemies deal more damage and take more hits. Prioritize unlocks.
Syndicate HQ
24 missionsElite soldiers, shield bearers, and snipers
Reinforced doors, trap rooms, multi-floor buildings
Class specialization matters. A generalist loadout will struggle. Bring breaching charges and flashbangs.
Final Assault
18 missionsBosses, heavy armor squads, ambush groups
Tight timers, no-respawn rooms, Nightmare unlocks
Nightmare difficulty unlocks here. You need optimized loadouts and memorized routes. Co-op is strongly recommended.
Star Farming Strategy
Maximize your 3-star count to unlock classes and gear faster
Complete the mission first to learn the layout. Earn 1-2 stars for progression. You will return with better gear and knowledge.
Once unlocked, the Breacher's room clear speed makes early Act I missions trivial. Revisit them and earn the 3-star ratings you missed.
The hardest bonus is usually the time limit. Build a speed-focused loadout and memorize the route. Health and accuracy bonuses come naturally once you know the mission.
Nightmare difficulty is designed for two players. The revive mechanic, combined class abilities, and shared tactical items make 3-starring Nightmare missions possible in co-op when solo runs feel impossible.
Mission Type Quick Reference
Match the mission to the right class, loadout, and strategy in seconds
| Mission Type | Best Class | Key Gear | Core Strategy |
|---|---|---|---|
| Standard Room Clear | Breacher | M1014 + Flashbangs | Breach fast, clear corners |
| Hostage Rescue | Sniper or FBI | Precision weapon + Flashbangs | Identify before firing |
| Bomb Defusal | Recon or Breacher | Breaching charges + Speed | Memorize route, skip non-essential |
| Boss Encounter | Assault or Breacher | High DPS + Medkits | Save items for boss room |
| Nightmare Difficulty | FBI or Shield | Extra medkits + Flashbangs | Co-op strongly recommended |
| Speed Run Farm | Recon | Light weapon + No extras | Sprint past non-essential rooms |
MISSION BRIEFING COMPLETE
Now gear up with the right loadout and squad up for co-op operations.